
One of the requirements of my production (home, lab, etc) storage system is to have backup capabilities. Previously, when all of the hypervisors in my lab were running ESX, it made sense to use Veeam – it worked great, and I could store the backups on a volume that was a part of a replication task.
But hypervisors change so Veeam was no longer an option. I thought the Active Backup for Business (ABFB) solution would work in a similar way, but it turns out they don’t support KVM for direct backup. Fortunately, ABFB supports agent based backups for servers and PCs, regardless if they are virtual or hardware. So this takes care of two cases – lab systems AND PCs in the house which I may (or may not) have been backing up previously.
What about the restore?
If you’ve deployed a Windows system from an ISO before, you know that it can take a while just to get the system the way you want. If it’s new hardware, you need to worry about drivers…if it’s a 3rd party (non-HyperV) hypervisor, you need VM tools. One of the greatest tools that has been available to make this process easier is the Microsoft Deployment Toolkit, or MDT.
Think of MDT as the evolution of Remote Installation Services (RIS) that supports all new Windows OSs and tons of customization and installation options. Everyone that deploys Windows and is not already using some form of automation should consider MDT – I use it extensively to deploy lab systems for testing and it works great for this.
The easiest way to deploy is to boot to the network allowing the WinPE image to run and connect to the MDT server. Then I realized that Synology offers an ISO image to boot from if you need to restore from an Active Backup for Business backup.
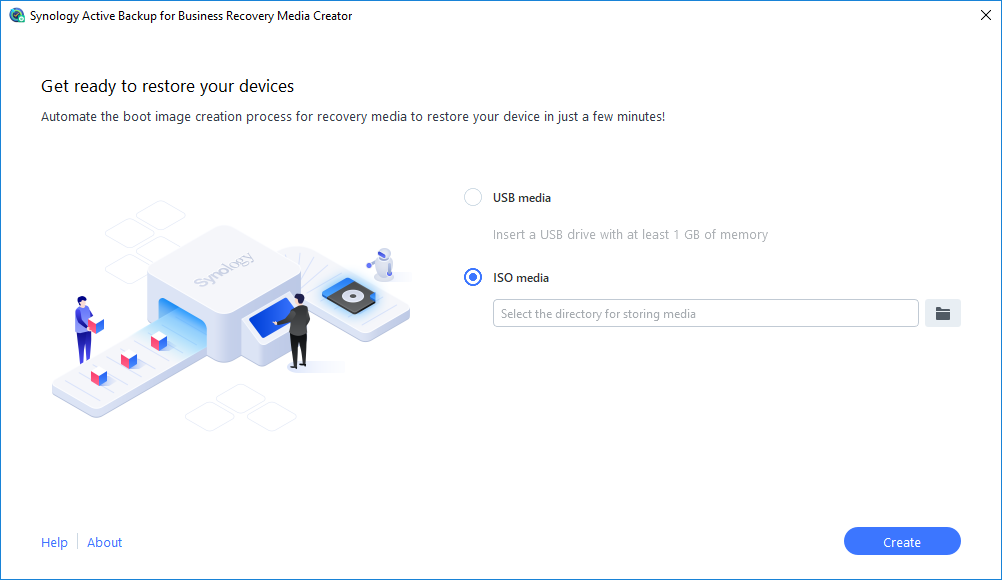
The media creator uses some of the same tools that MDT uses including WinPE and WDS, so if you have not installed those tools on your system, you will need to do that before the media creator runs.
Adding the Restore Tool to MDT
Once you have the Recovery Media ISO, mount it to any system (or virtual cdrom, etc) to browse the files – it should be about 320MB though this is subject to change over time with new releases.
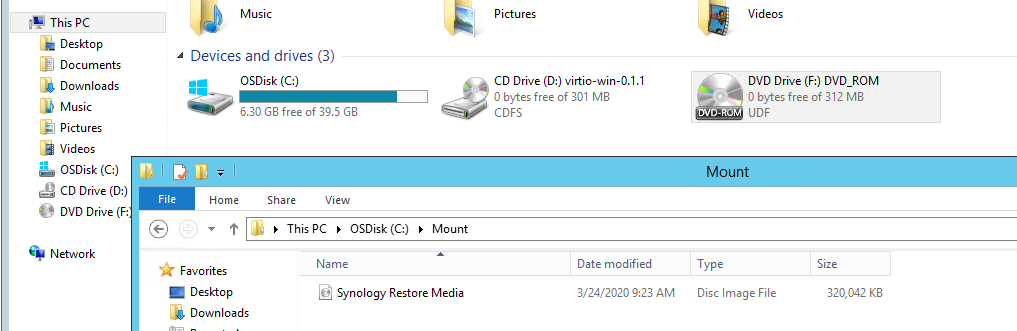
Once mounted, browse the ISO to locate the boot.wim file, it will be located in the /sources directory. In this case, the .wim file is ~275MB.
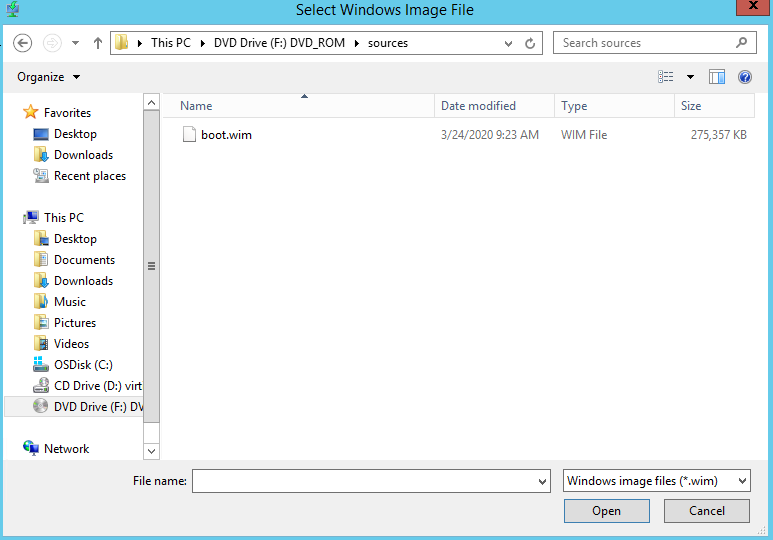
Copy this boot.wim file to a temporary directory and open the Windows Deployment Services console on your MDT server. We will be adding a new boot image using the boot.wim file that was extracted previously. Follow the steps in the UI, giving the image a descriptive name.

Once complete, the new image will have the default priority (500000), which, if you have not changed the priority, you may have systems that will default boot to the restore media rather than the MDT deployment image. Make sure to change the priority to meet the needs of your deployments.
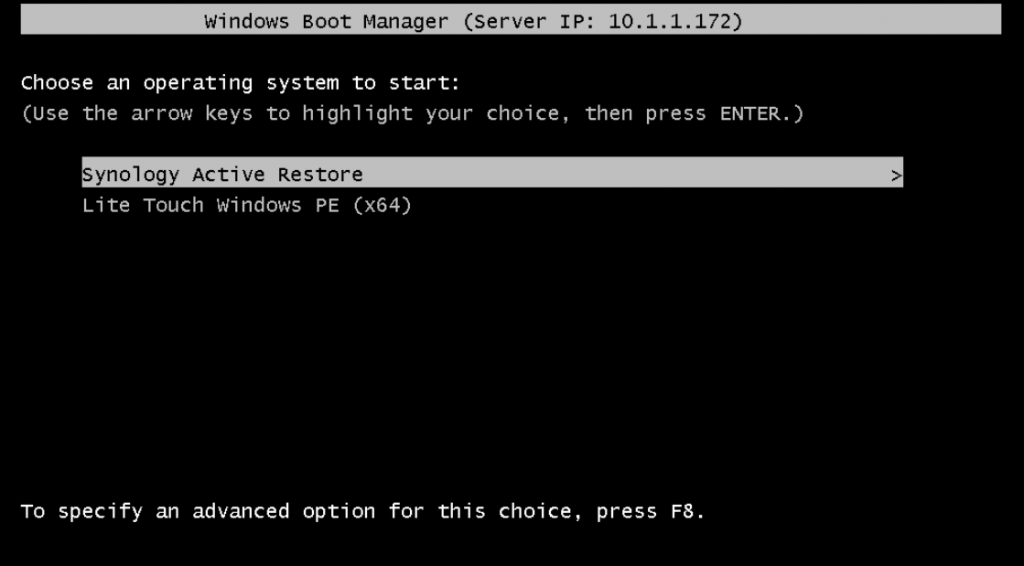

Automated Restore
Once you boot into the Restore Image, you will be prompted to connect to your Synology DSM. From there, you will then be presented with the available devices that have been backed up.
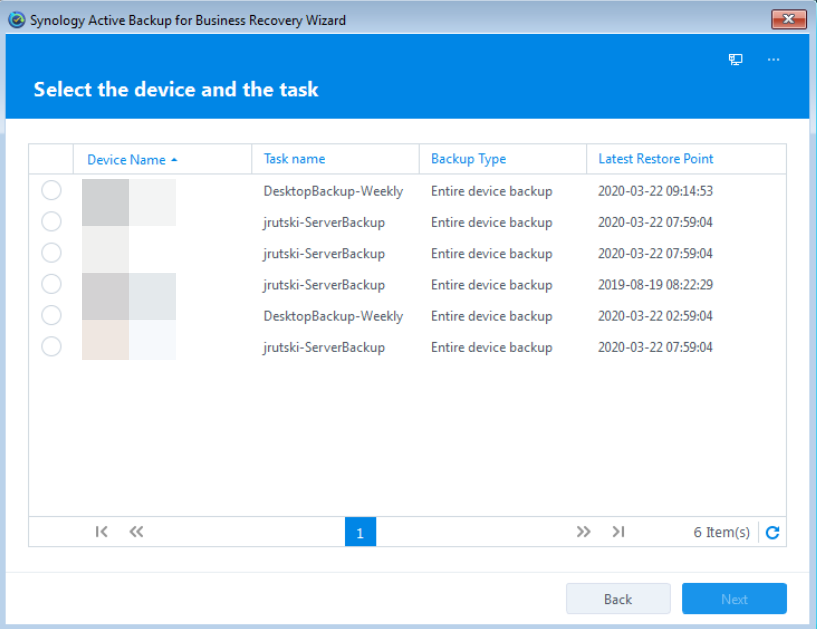
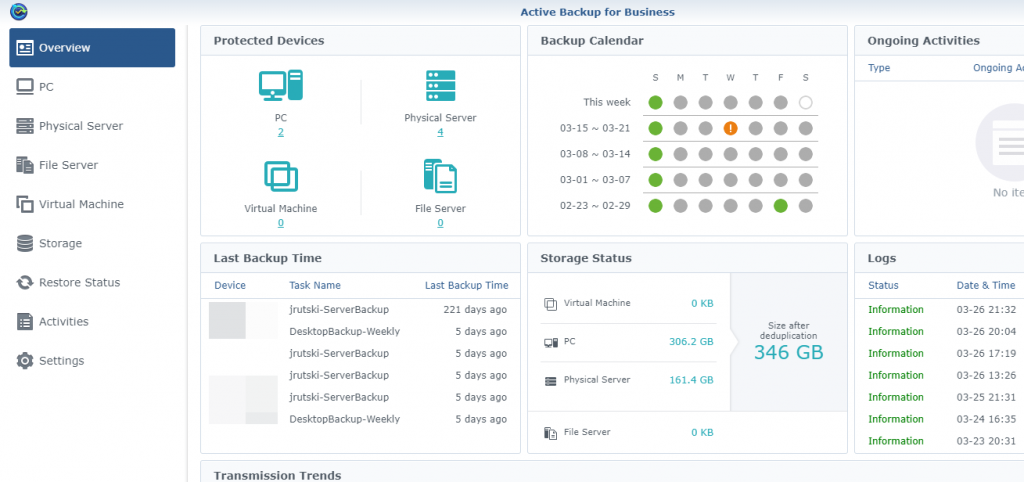
This should match what you see in the Active Backup for Business portal on the DSM.
Once a device is chosen to restore, you will be able to see additional details about the restore image, different versions available, as well as a few tools to manage the restore.
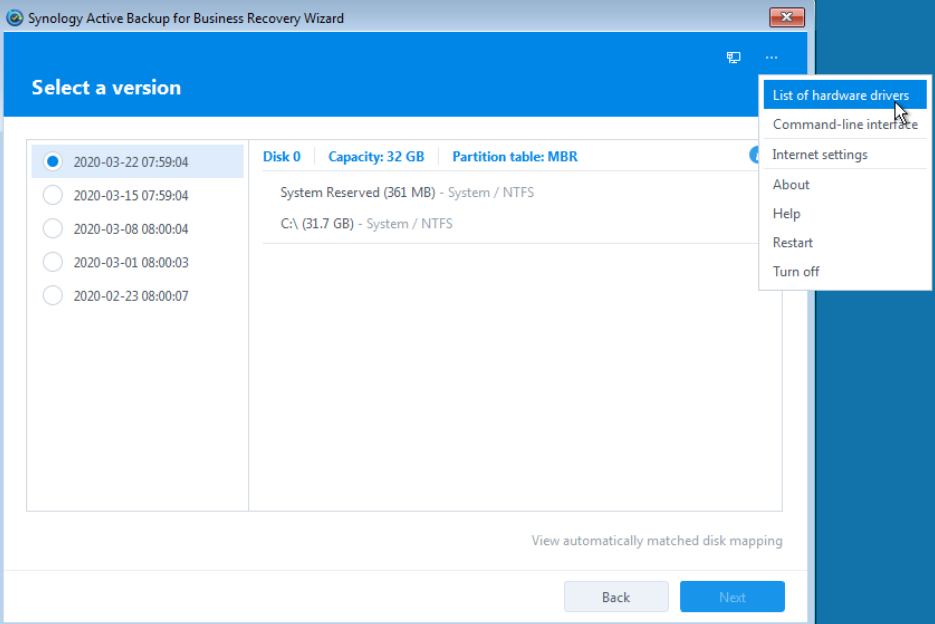
You can also see the drivers that are currently loaded as well as add any additional drivers that may be needed to complete the restore.
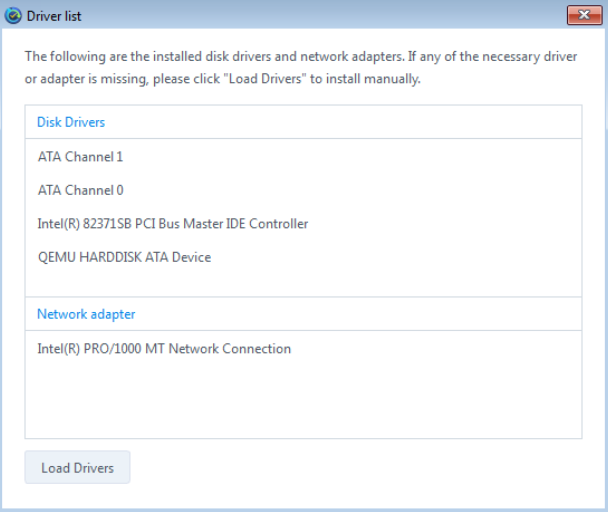
…and that’s it.
This simple integration makes Active Backup for Business that much better for Windows systems – simply boot a replacement machine (or VM) to the network and choose the restore image. It’s as simple as that!