Trading our Odyssey for a Volvo XC90: the Best PHEV SUV (We Love it!)
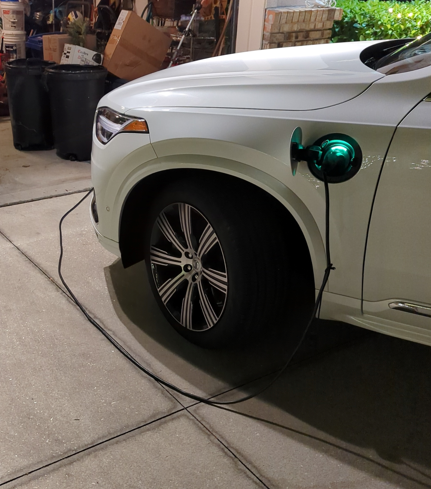
Oh, were you expecting a tech article? Nope. For the first article of 2022, I’m shifting gears (pun intended) and starting off with an automotive entry, specifically why we decided to trade in our Honda Odyssey for a Volvo XC90. Some Background At the time, there were two kids running around and one of them was still in a full-sized car seat, so it made sense for us to buy a minivan – especially when … Read more…