Prior to updating to Server 2008 R2, I had a 1.0 VM running the Data ONTAP Simulator. I had never rebuilt or restored it after the host upgrade, so I figured I would give it a shot. I still had the old VHD – but there was a problem – there was also a snapshot, and I had no idea if it was current, or what. After I created the new VM and added the VHD, the system booted, and started to enter the Ubuntu GUI, but it was in a 640 x 480 resolution and very choppy – this usually happens if you don’t specify a display size in the boot options. At that point, I decided to start from scratch, and reinstall Linux, then the simulator.
The first thing to note is that only the enterprise server versions of Linux have integration component support for Hyper-V:
-
SUSE Linux Enterprise Server 10 with Service Pack 3 (x86 Edition or x64 Edition)
-
SUSE Linux Enterprise Server 11 (x86 Edition or x64 Edition)
-
Red Hat Enterprise Linux (RHEL) 5.2, 5.3 , 5.4 and 5.5 (x86 Edition or x64 Edition)
My lack of experience with Linux and the fact that I’m using an older version of Ubuntu to host the simulator have lead to my limited attempts to get the ICs working…I believe that the simulator version 7.2 and later will run on most any Linux distributions – that being said, I may try later with a newer version of Ubuntu, and use this post here to get the ICs installed: Hyper V Guests Linux Integration Components Ubuntu and Debian
All told, this is a very simple install – the document that is sent with the simulator is a perfect guide to get the Linux install customized for the simulator. The only problem I ran into was with the network interfaces.
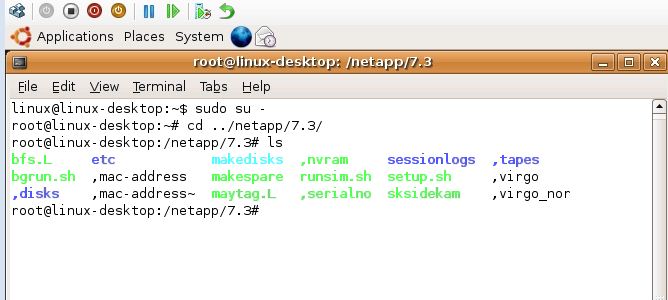
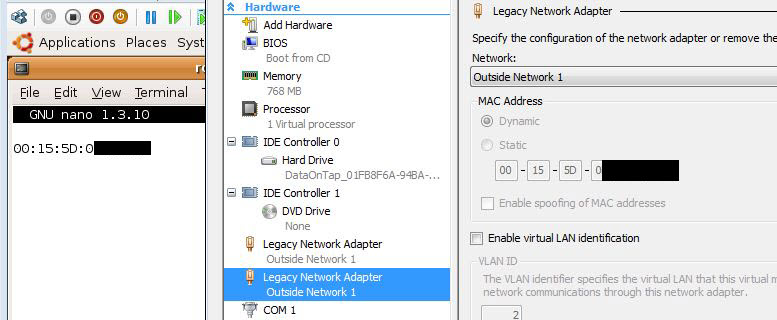
First, you need to use legacy network adapters – again because of the lack of integration components. I had the Linux install customized and working fine before the Simulator gets installed, I took a snapshot just to be sure. The simulator installed flawlessly – but then the problem started: I could not browse to the HTTP interface…NTP didn’t sync…and I couldn’t setup CIFS because the DNS server could not be contacted – so basically, I had no network. Not remembering this problem before- I checked the NetApp documentation to see if I needed to add 2 interfaces (there was no mention of this)…but I did it anyway. Re-ran the simulator setup pointing it at the new eth1 interface – still nothing. Then I was looking at the simulator files and noticed a mac-address file –
I then checked both of the MAC addresses for the legacy NICs – the MAC addresses were completely different. I then set the mac-address file to match the second adapter, and presto! Networking works! I am betting that this is due to promiscuous mode networking being disabled by default in R2. Once this was done I disabled eth0 in the Linux host as there is no use for it.
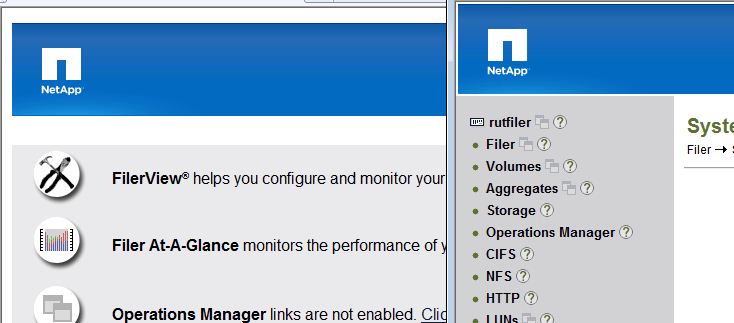
Now I can check the web interface, and get everything else setup. The next issue I ran into was with setting up CIFS – I could not get the time on the simulator to be correct…ever. I tried auto config with the local NTP server, I tried with a public NTP server, I even tried manual config – but the time kept jumping to a few hours off- as if the time zone was wrong…even though it was set to US\Eastern. Then I realized that it was grabbing time from the Linux host – which I never set correctly, and also because the ICs were not installed it did not have time sync with the host. Once that was resolved, everything is golden!