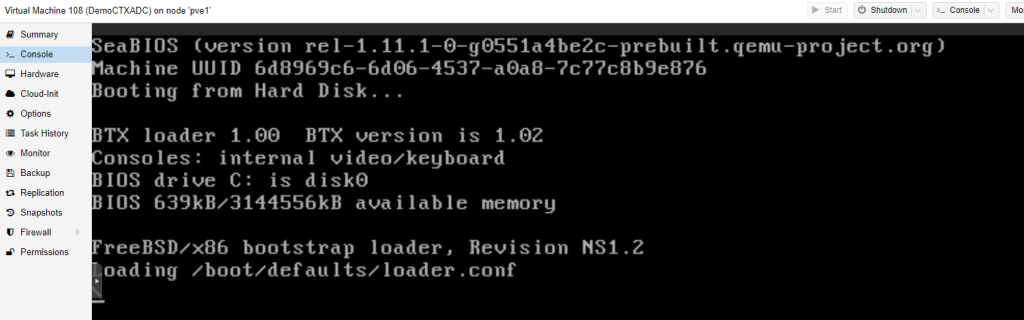
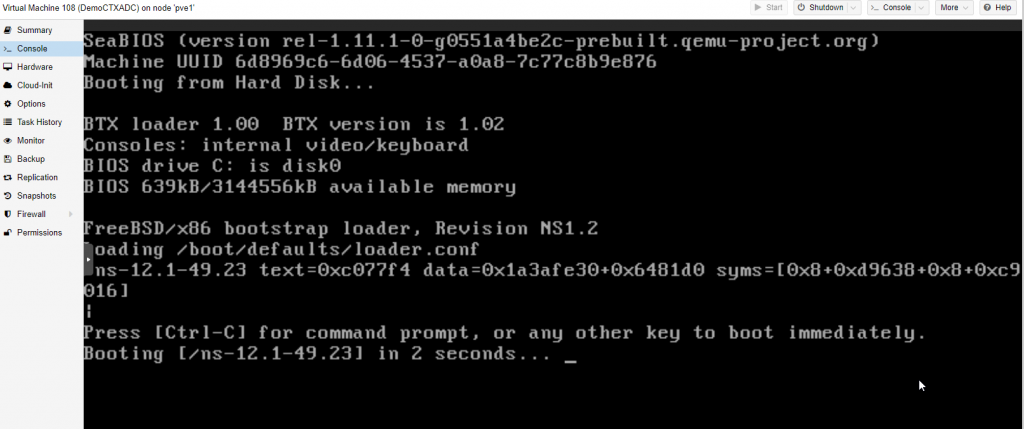
A few days ago, I did a thing and one of the first issues I had was getting a NetScaler (Citrix ADC) appliance up and running on the new host…because, you know….priorities. This scenario is certainly supported as the hypervisor is KVM, but on the initial boot, it got stuck here:
And that’s no good. How did we get here? Let’s go through the basics as it’s slightly different than just importing an OVF template.
Getting Started
Obviously the first step is to download the KVM image – it will be in a .tgz file. From here, I suggest uploading into the local images directory.
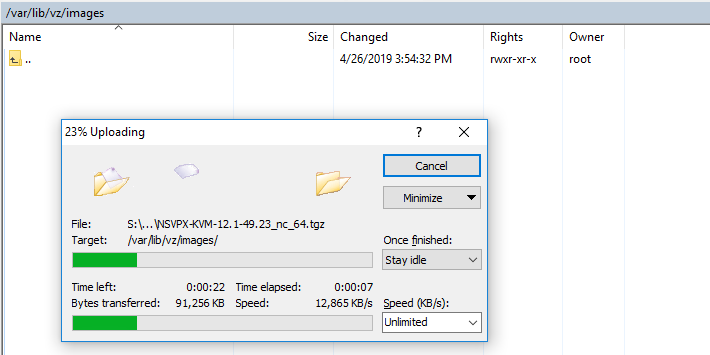
Once uploaded, go ahead and extract the contents using tar xvzf NSVPX-KVM-12.1-49.23_nc_64.tgz (obviously use the build applicable to you). You’ll notice there’s a checksum file, an XML file and the image file in a qcow2 file. There are a few ways to proceed from here, but my preference is to simply create an “empty” VM and import the disk using qm importdisk.
According to the documents, interfaces and disks do support VIRTIO, so add them as such; double check that the imported disk is set to boot after completing the import and attaching. As with any VPX, the minimum required CPU cores is at least 2 and a basic recommendation for RAM is 2GB + 2GB per PPE.
The Boot Problem
So now that you’ve got the VM registered and powered on and sort of booted…or booting – it goes nowhere, and sits at the above screenshot forever, eating 1 core of CPU. Realizing the problem is likely due to the fact that we created the system from scratch rather than using the included XML definition file, I took a look at it again:
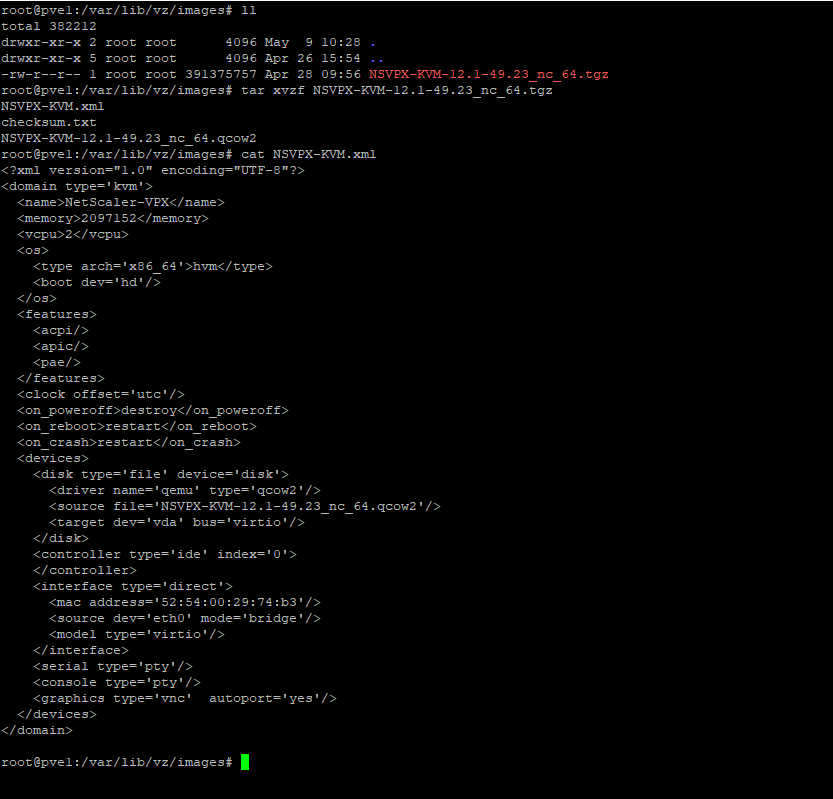
Looks fairly simple, 2 CPUs, 2GB of RAM, VIRTIO disk and NIC, VNC graphics, console and serial connection. OH.
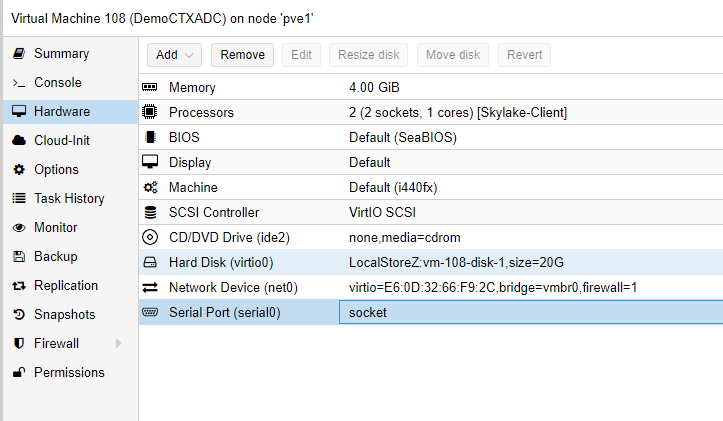
The default configuration of a VM does not include a serial port. Just add one. And boot the NetScaler. DONE!
Thanks, that was the missing piece for me.